# Create A New Plan
This tutorial covers how to create a new plan.
- The tutorial will use a 2x2 meter rectangular field as an example.
- The process is the same for all others plans.
- The tutorial will use a location called “Location 1”.
- The location (Location 1) have been created on beforehand.
- The tutorial does not cover how to create a location or set flags.
please note
It is not possible to create a new plan without a location.
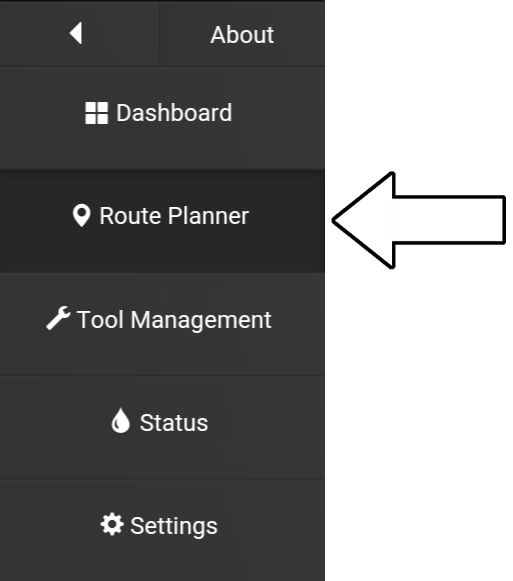
1. Go to “Route Planner”.
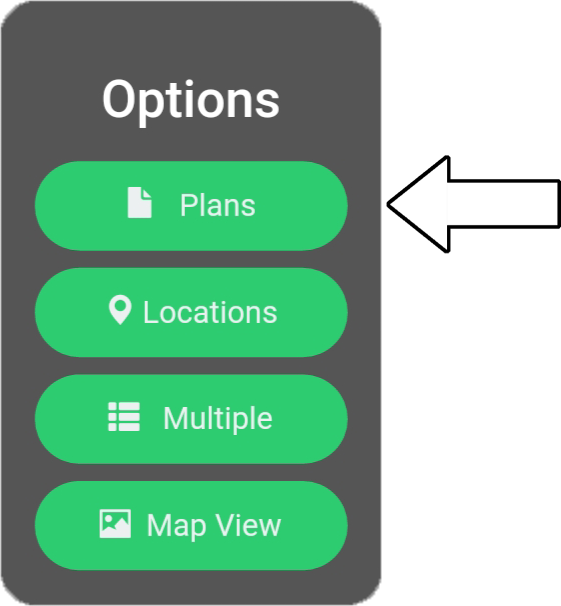
2. Select “Plans”.
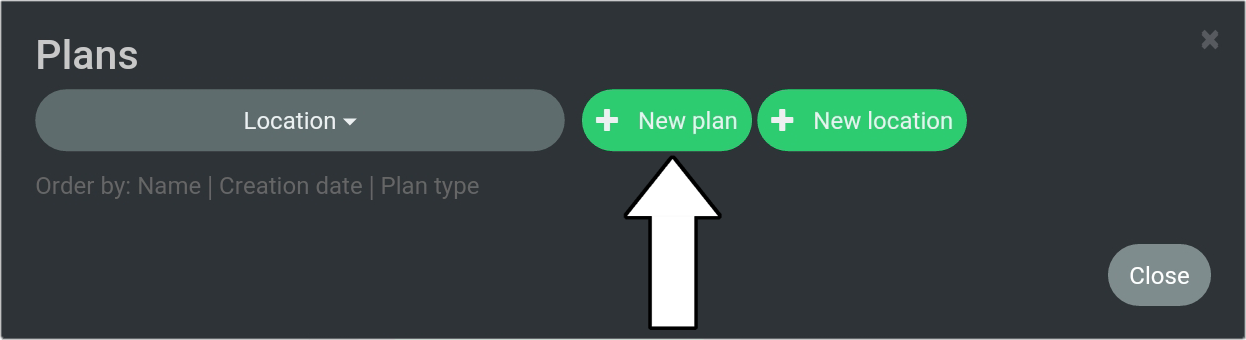
3. Select “New plan”.
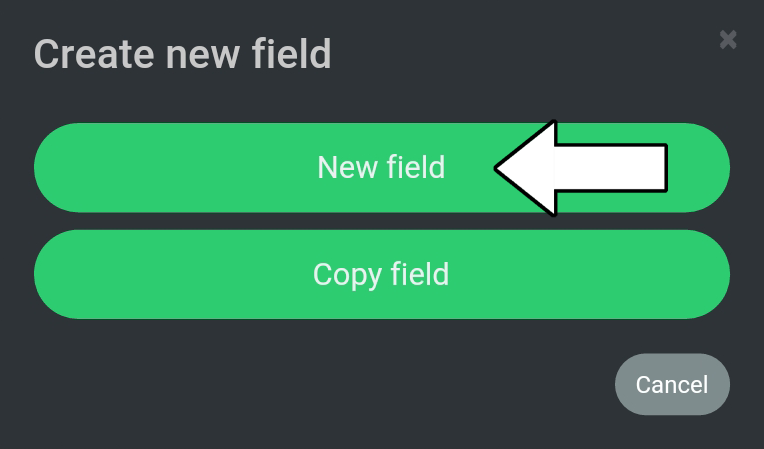
4. Select “New field”.
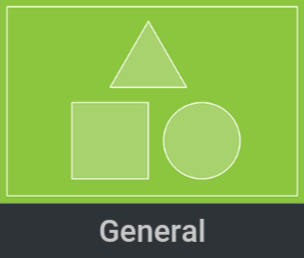
5. Select “General” from the categories.
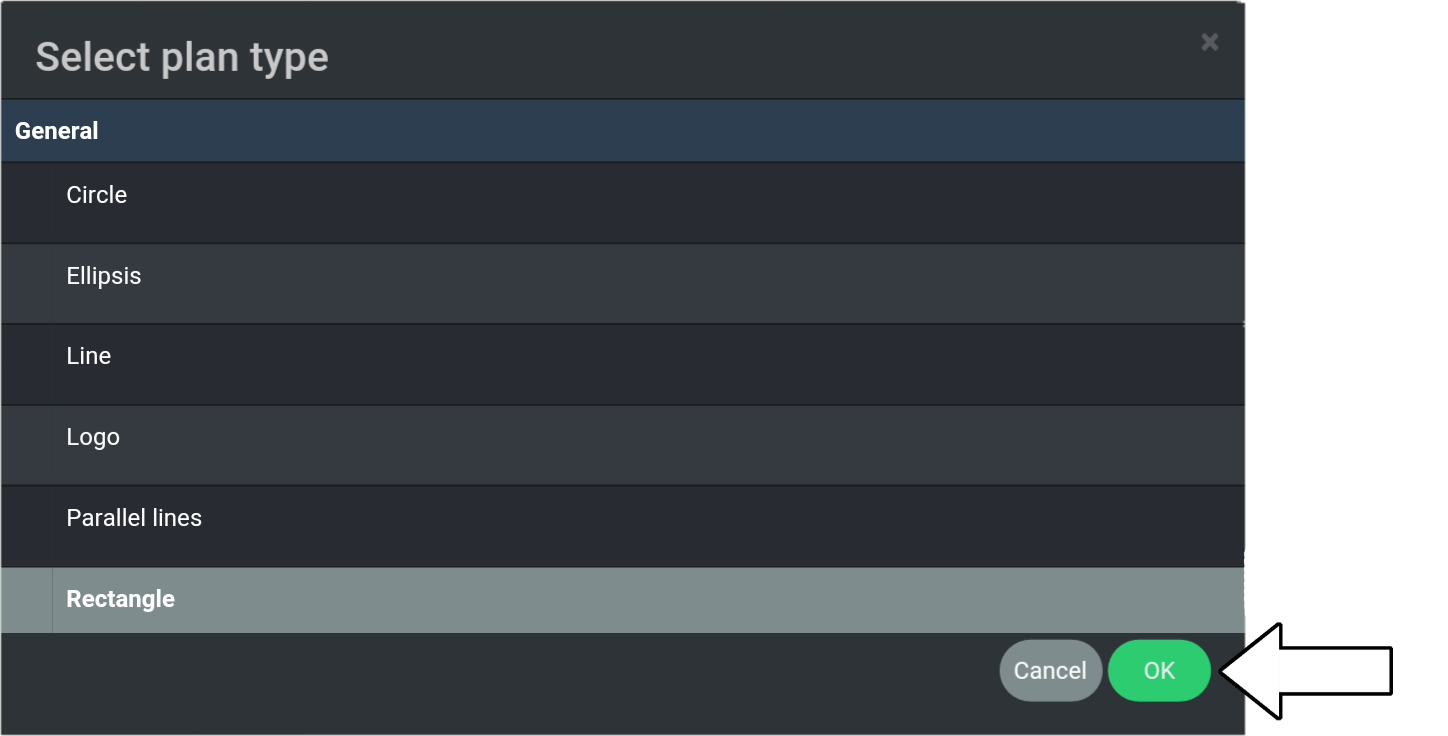
6. Select “Rectangle”.

7. Select “OK”.
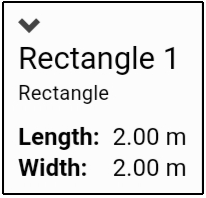
8. Provide a name for the rectangle - in this example the name is “Rectangle 1”.
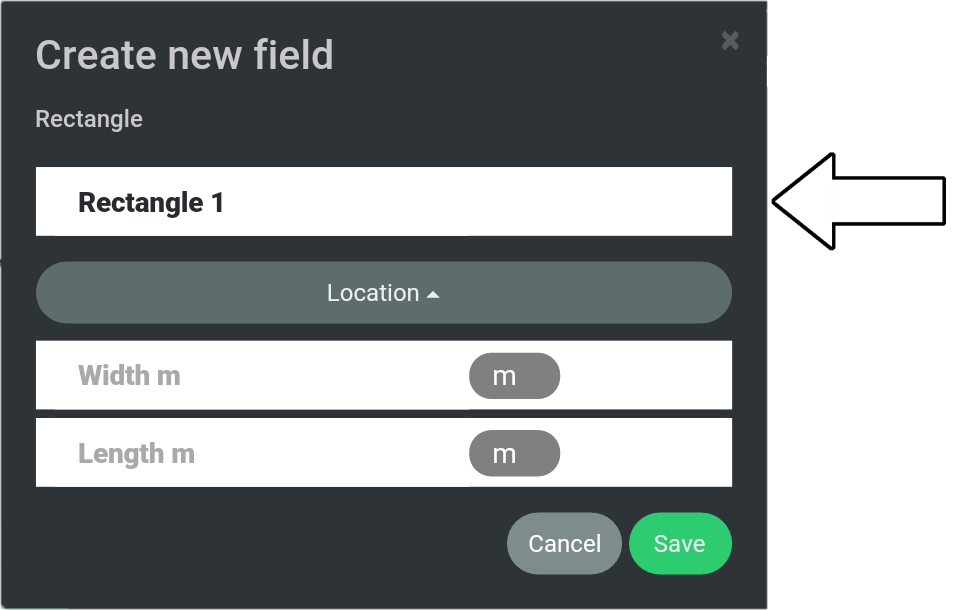
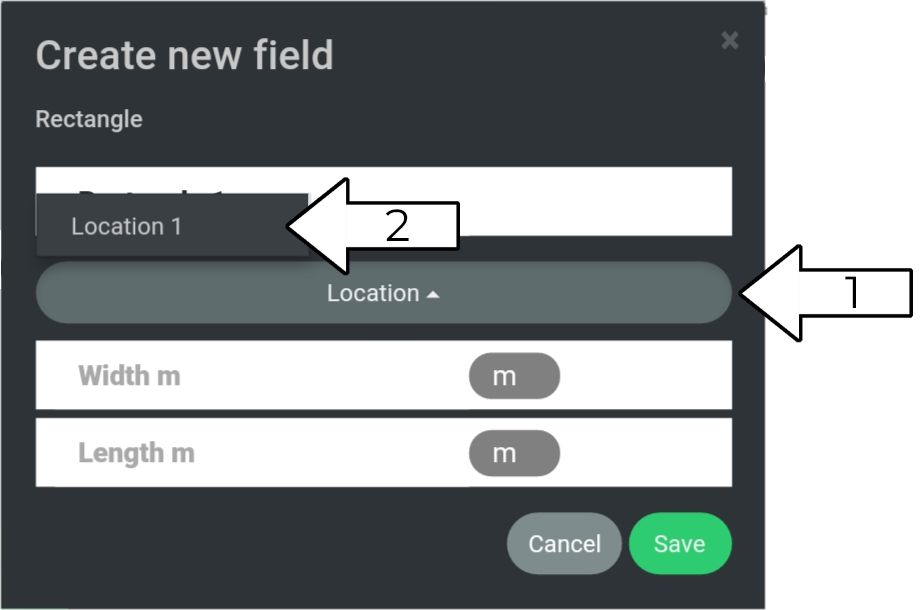
9. Choose “Location” (1) and select “Location 1” (2).
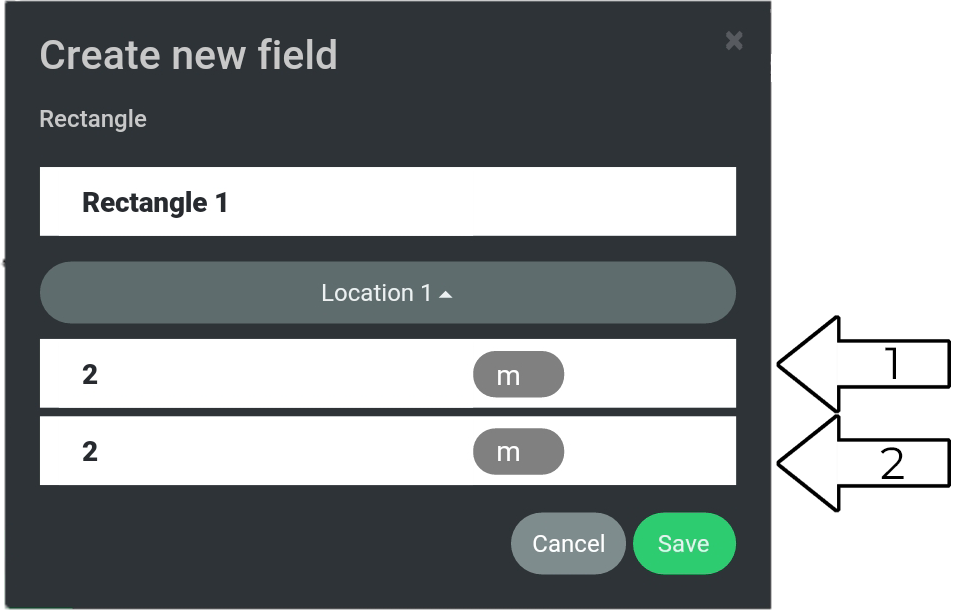
10. Type in 2 meters for width (1) and length (2).
Unit for distance may be different depending on your settings.
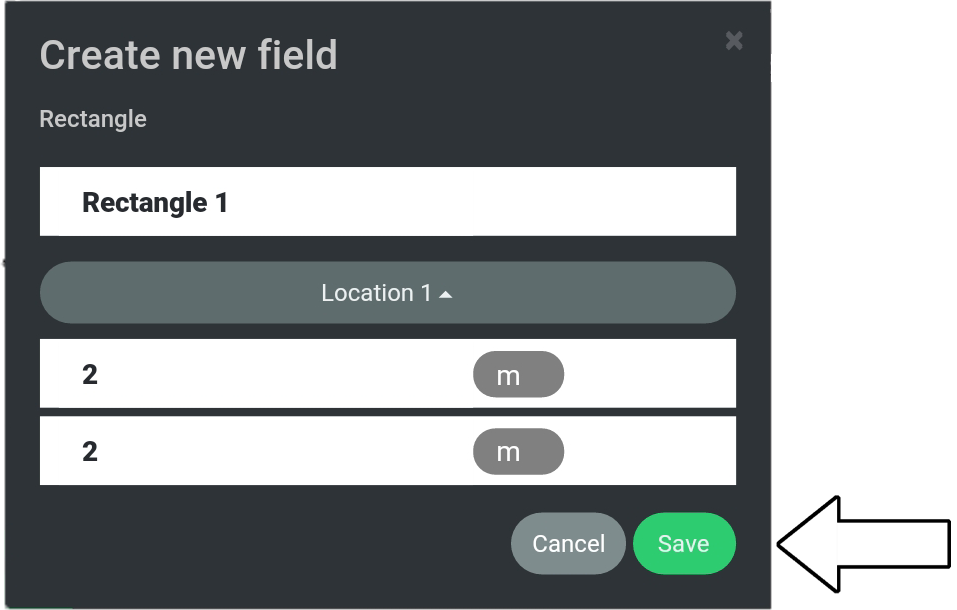
11. Select “Save”.
12. The Map View is now displayed where the rectangular field is shown.
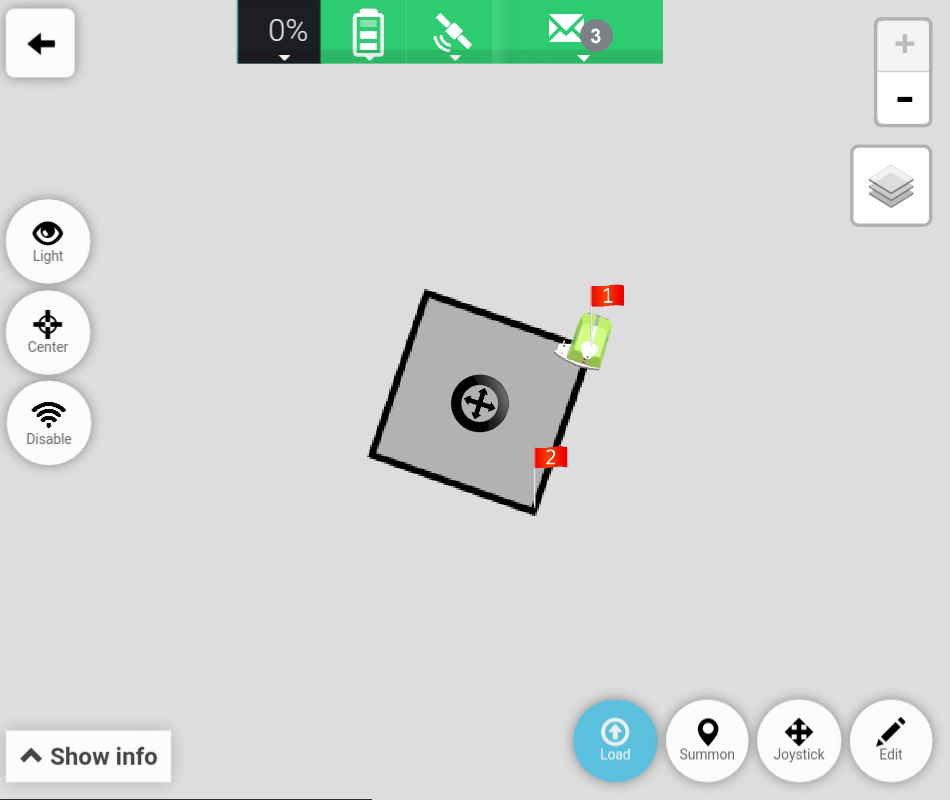
Please Note
Field name and size is shown by selecting “Show info” at the left bottom of the map.