# How To Run Multiple Plans
This tutorial covers how to setup multiple plans which will be painted in succession.
- The tutorial will use a location called “Location 1” and four rectangular plans (Rectangle 1-4).
- The location and plans have been created on beforehand.
- The tutorial does not cover how to create a location or plan.
- All four plans are created under “Location 1”.
Please Note
- For a “Multiple” setup a minimum of one plan is required.
- It is not possible to create “Multiple” setup if a location does not contain a plan.
- It is only possible to create a “Multiple” setup within the same location.
This means that you cannot use “Plan 1” from “Location 1” together with “Plan 2” from “Location 2”.
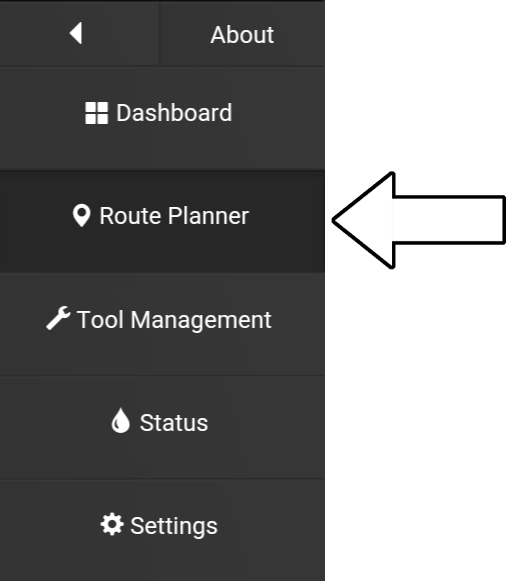
1. Go to “Route Planner”.
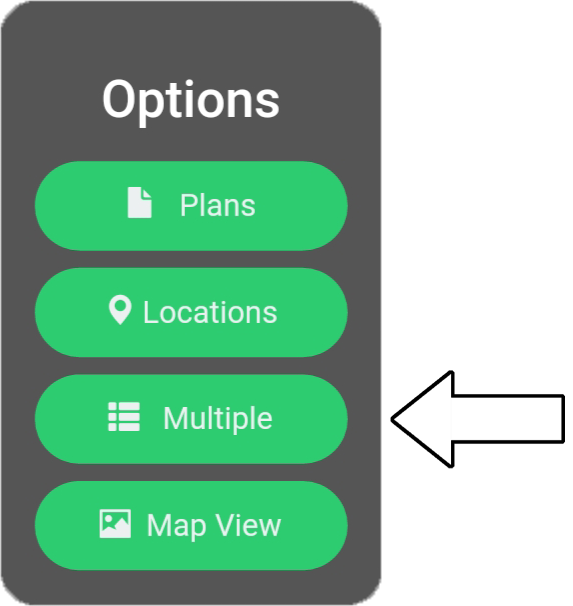
2. Select “Multiple”.
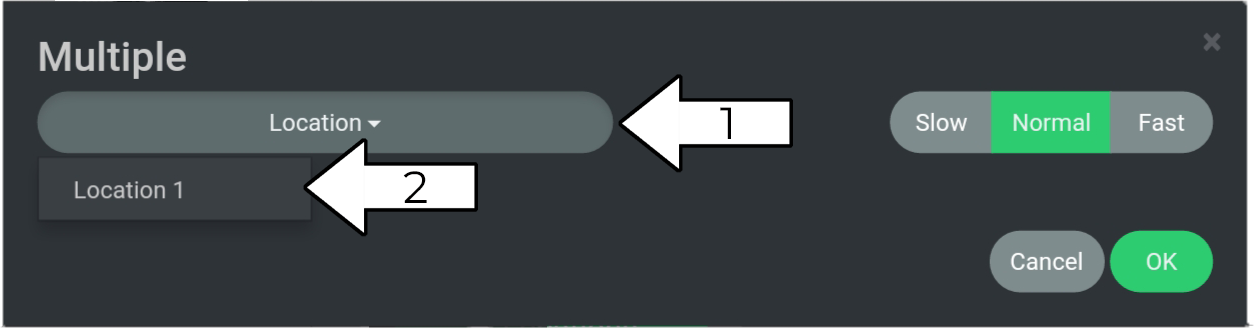
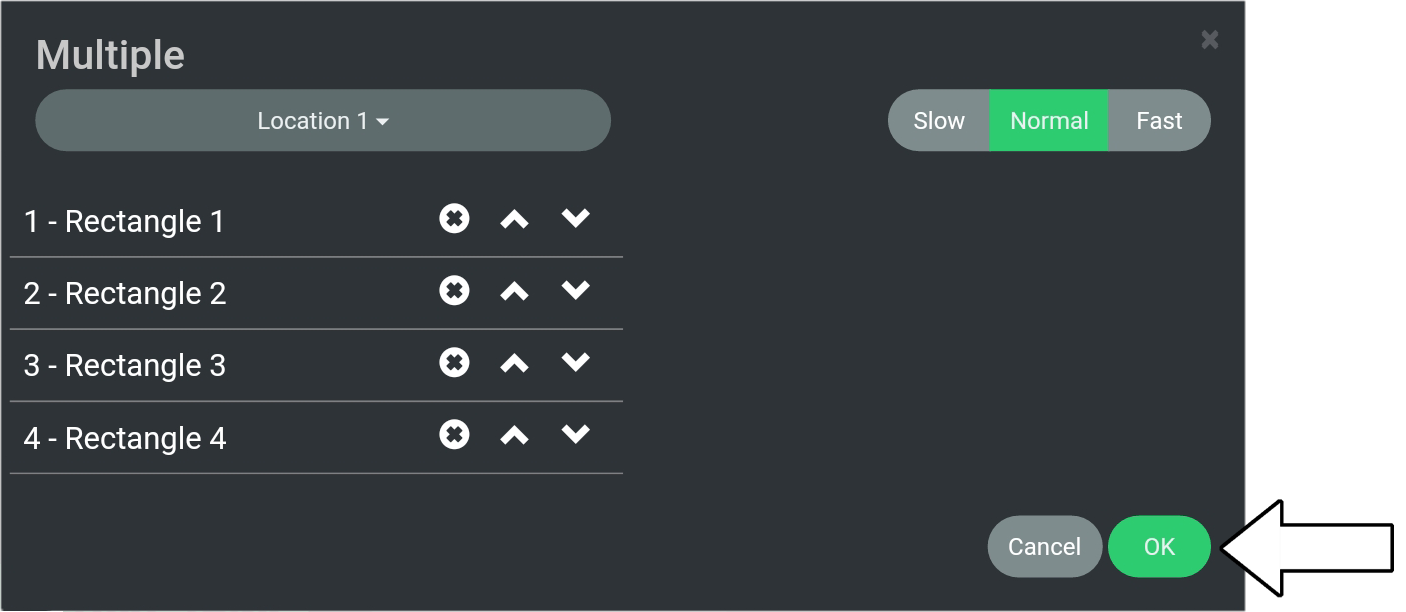
3. Select “Location” (1) and choose “Location 1” (2). In this example “Location 1” is used.
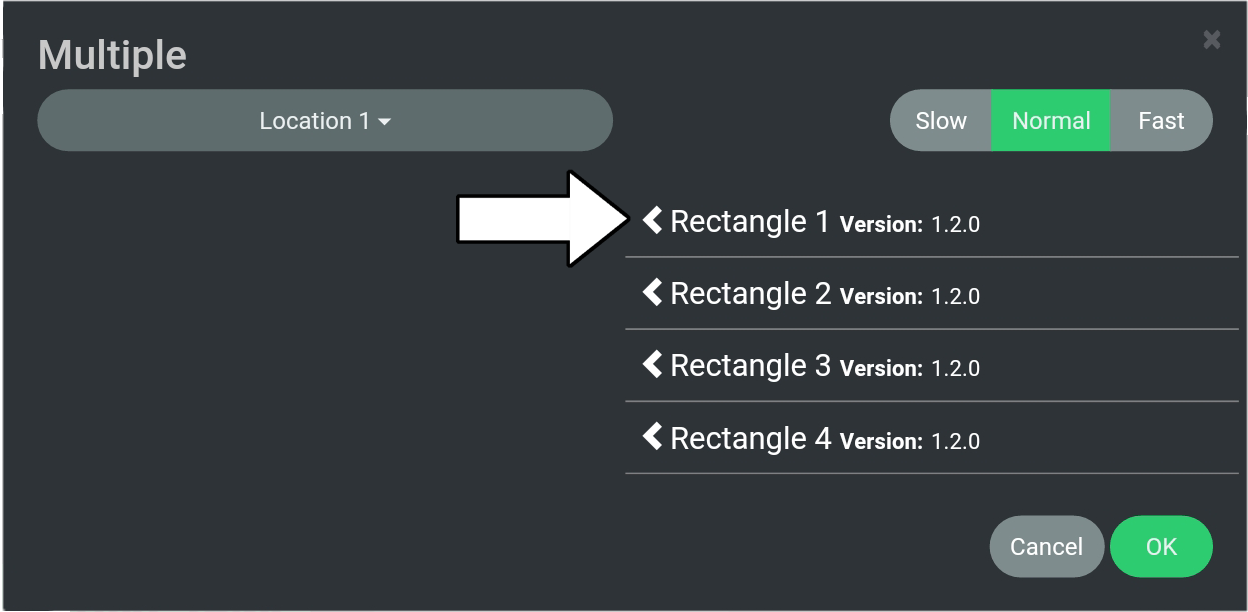
4. Press the left arrow to select the plans which will go into the “Multiple” setup.
please note
The “Multiple” list is explained below.

(1) Shows the order in which the plans will be painted.
(2) Shows the name of the selected plans.
(3) Press the “X” to remove a plan from the list.
(4) Press the up arrow to move a plan up in the order of painting.
(5) Press the down arrow to move a plan down in the order of painting.
5. Press “OK”.
6. The “Multiple” setup is now shown in the Map View.
The white lines are the field. The black lines are transit lines (non-painted lines).
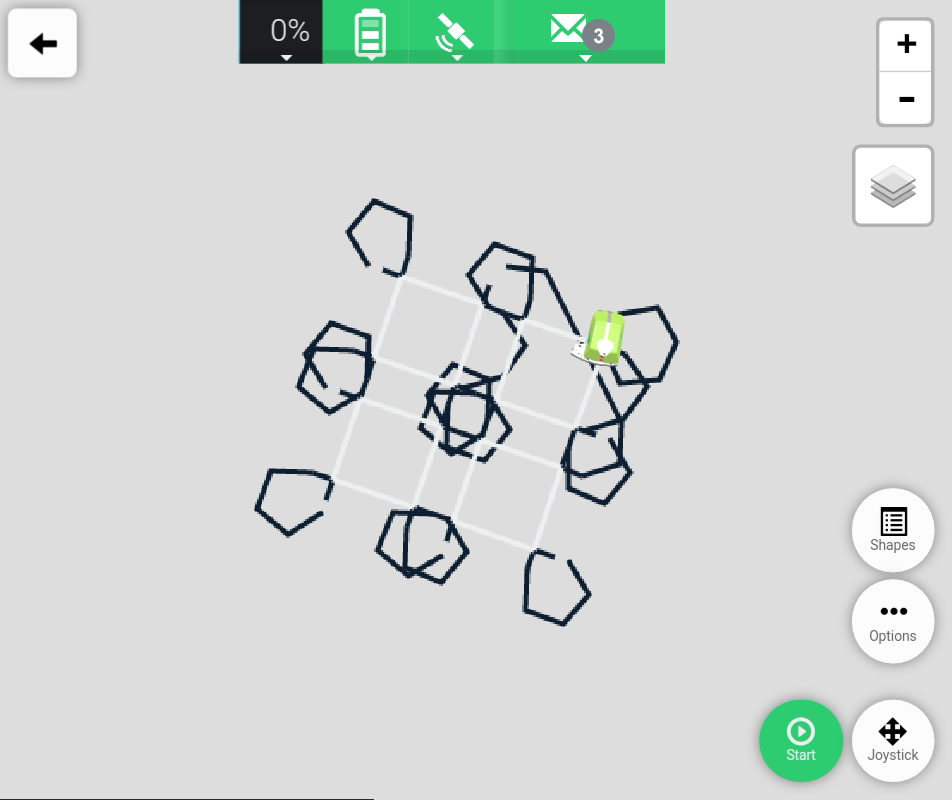
7. Press “Start” to start painting.
