# Battery
# Charging The Battery
The following is needed to charge the battery:
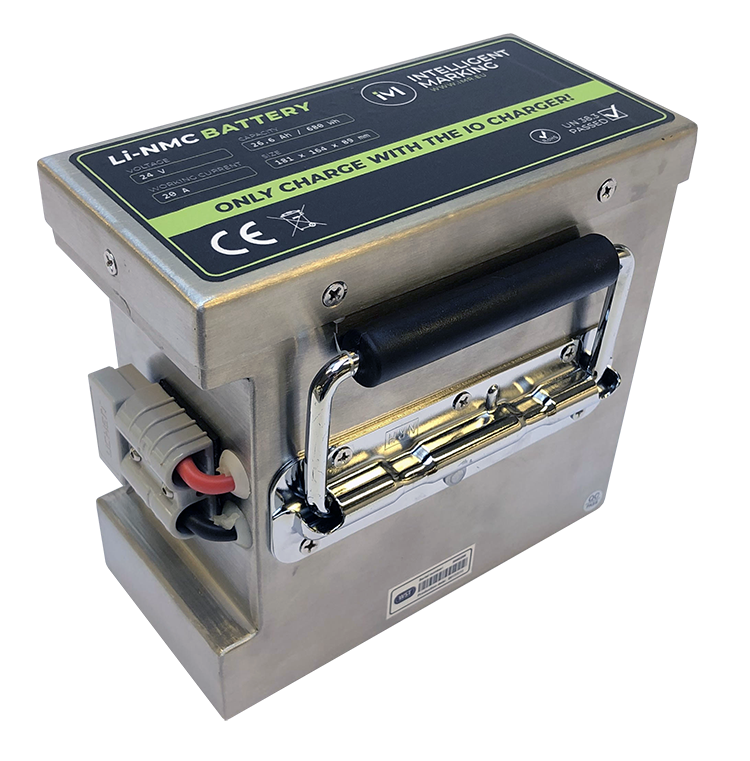
1x Turf Tank One Battery
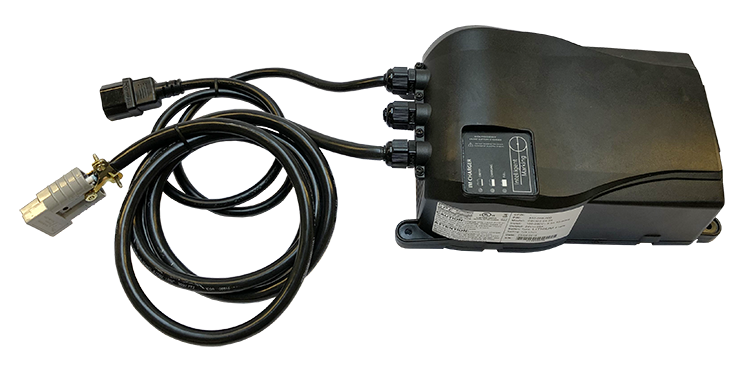
1x Battery Charger
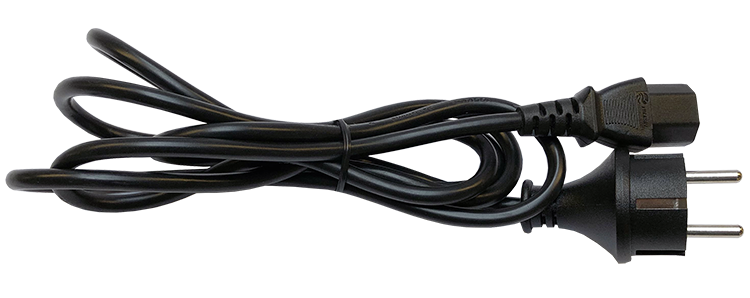
1x Cable Adapter (EU or US version)
Please Note
- The Battery Charger does not contain an ON/OFF power switch.
Once plugged into a Wall Power Outlet the Battery Charger is ON. - When plugged into a Wall Power Outlet (without attached Battery) the “EMPTY” light of the Charge Indicator Light will flash to indicate that the Battery Charger is ON.
Until a Battery is attached, the Charge Indicator Lights will cycle between ON and OFF. - The Battery Charger contains a cooling fan.
Do not cover the cooling fan to prevent overheating of the Battery Charger. - When removing the Charge Cable it is important to grab the grey housing and not the black wire. The housing has rips on each side for easier grip.
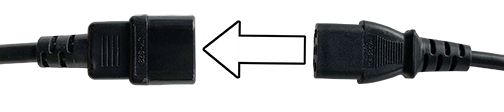
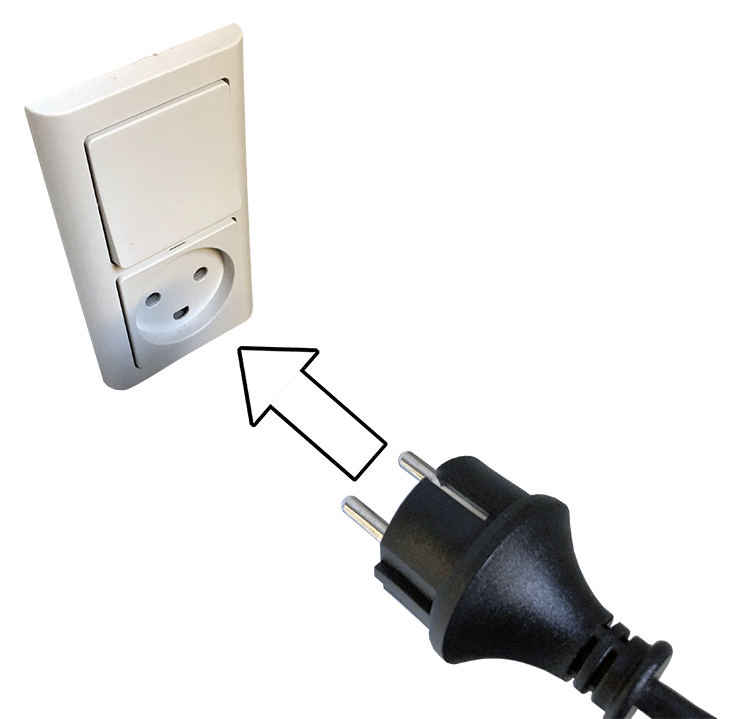
1. Connect the Cable Adapter to the Charge Cable.
2. Connect the Cable Adapter to a power outlet.
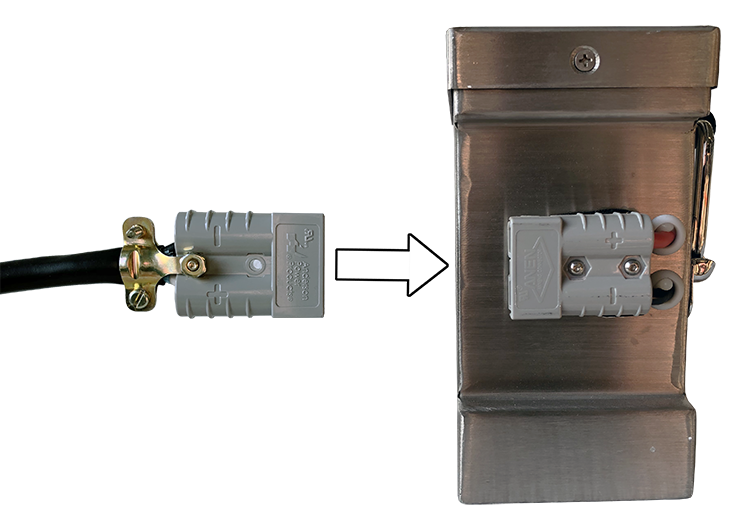
3. Connect Charge Cable to the Battery.
Make sure that the Charge Cable and Charge Connector is fully pressed together.
Please note
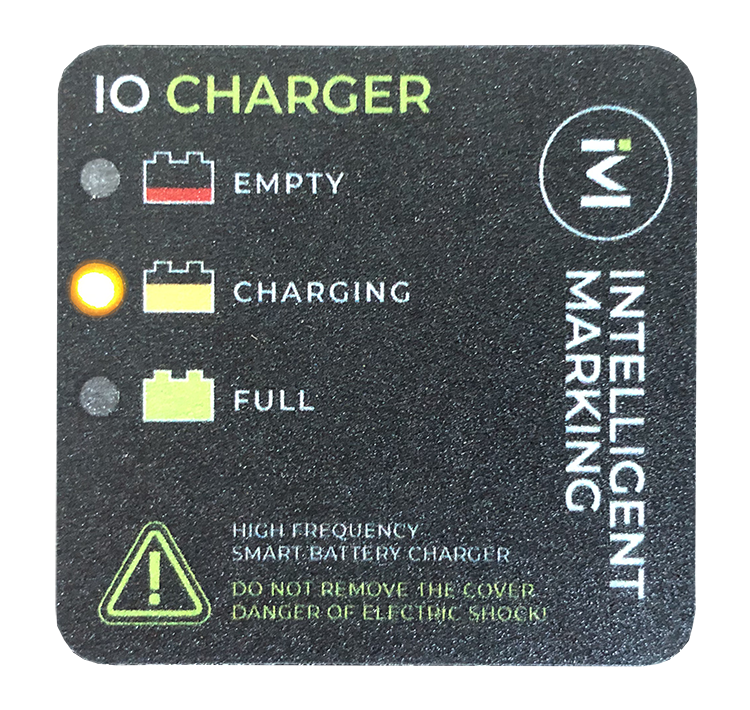
When the Battery is charging, the “CHARGING” light will turn solid ON.
The cooling fan will also start to operate.
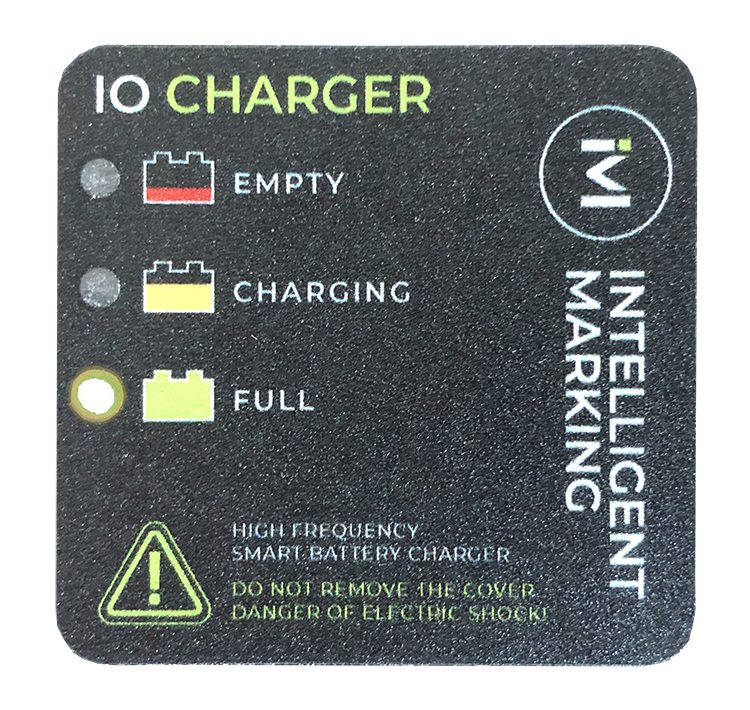
When the Battery is fully charged the “CHARGING” light will switch to “FULL”.
# Inserting The Battery
Please Note
Before inserting the Battery ensure that the Ignition Key and Main Power Switch both are in OFF position.
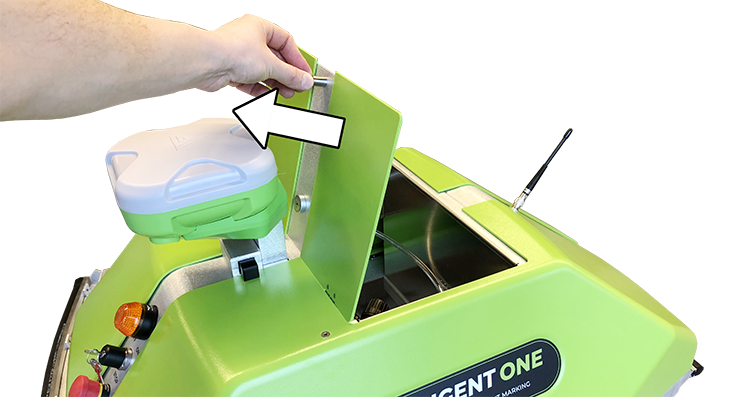
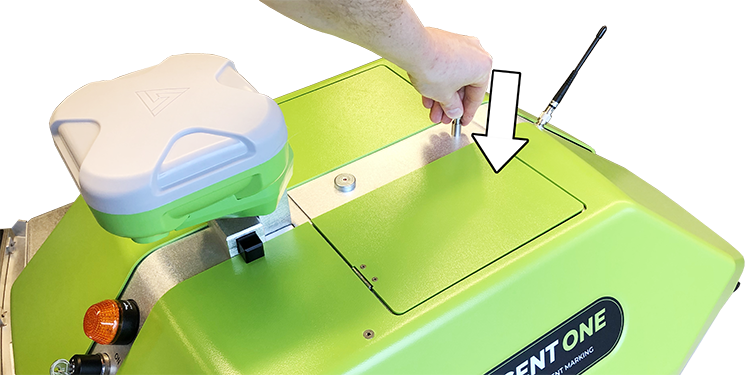
1. Open Lid for battery compartment.
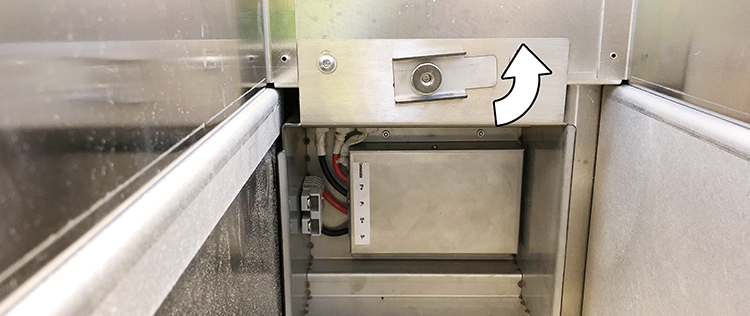
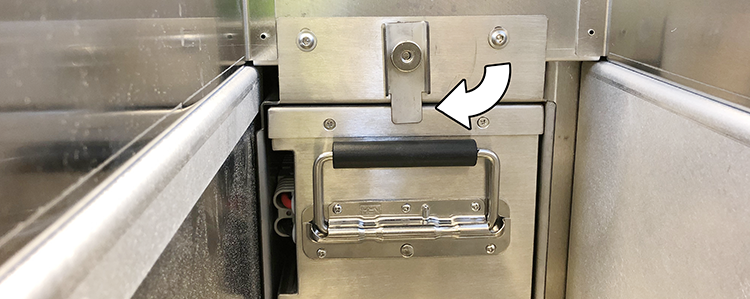
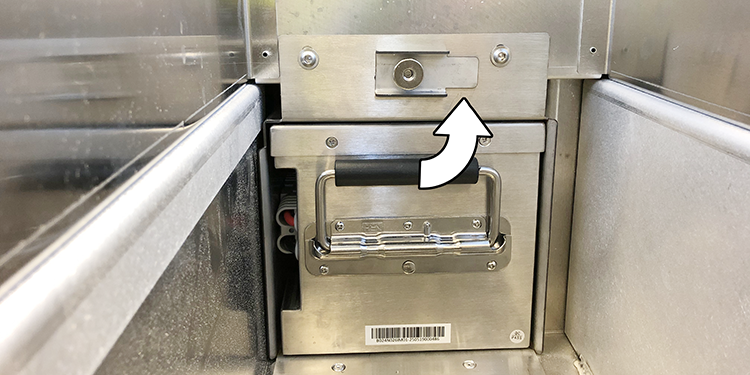
2. Inside the compartment, flip the battery lock up.
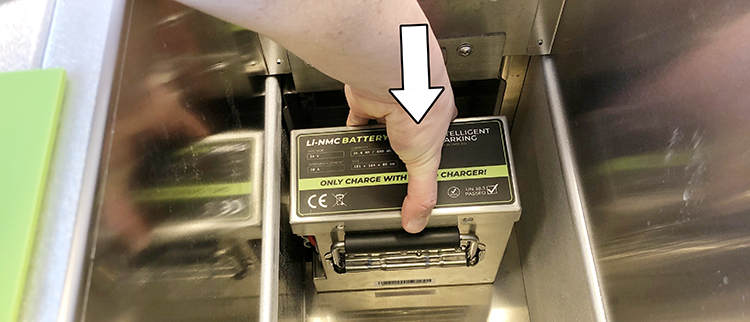
3. Carefully lower the battery down to the bottom of the compartment.
Ensure that the Battery Connector is facing towards the end of Turf Tank One.
4. Slide battery into the left pocket
5. Flip the battery lock down.
It is important to use the battery lock as it prevents the battery from disconnecting when operating.
6. Close Lid for battery compartment.
# Removing The Battery
Please Note
Before removing the Battery ensure that the Ignition Key and Main Power Switch both are in OFF position.
1. Open Lid for battery compartment.
2. Inside the compartment, flip the battery lock up.
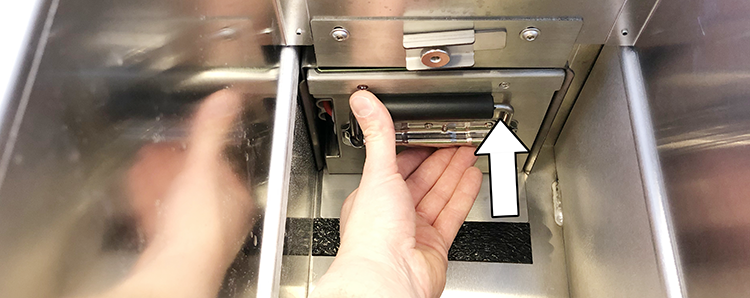
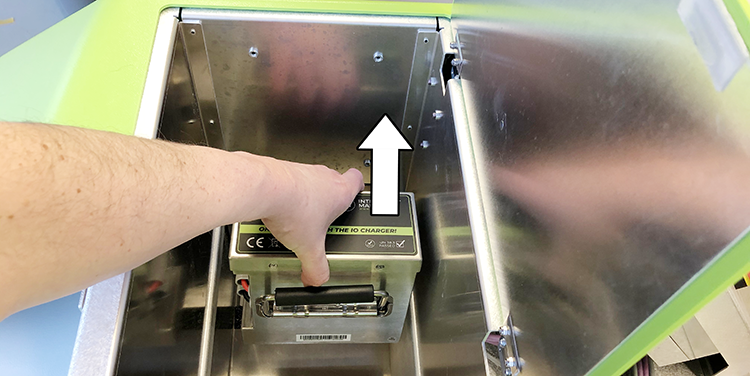
3. Pull out the battery by the handle.
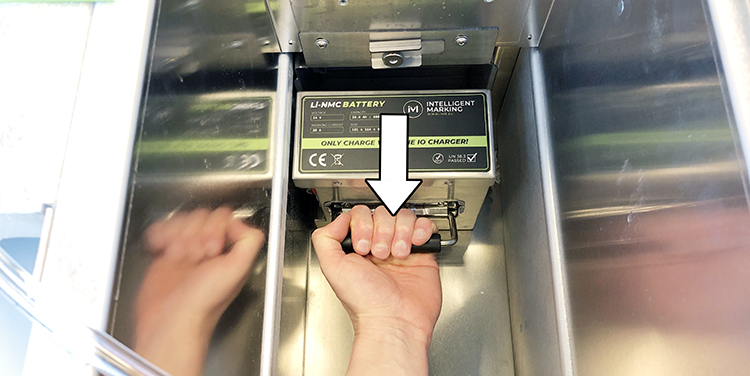
4. Lift battery up.
5. Close Lid for battery compartment.
# Checking The Battery Level
Please Note
- Battery level can only be checked in the Turf Tank App.
- Battery level can only be checked if the Turf Tank One is turned ON.
Turning Power ON - Battery level can only be checked if the Turf Tank One is connected to the Tablet.
Tablet Connection
1. Open the Turf Tank App.
2. Ensure that the lower left logo is green.
If orange, press the logo to connect to the Robot.
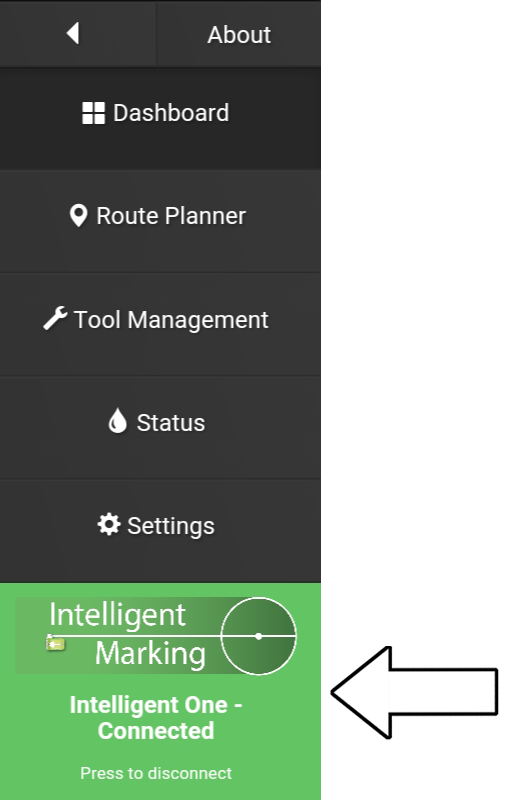
3. Battery status is shown at the bottom of the "Dashboard" next to a lightning icon.
Battery level in percentage is also shown.

# Storing The Battery
It is very important to handle the battery with care, as improper handling can greatly decrease its performance or even prevent it from working altogether.
Daily storage
- Always store the battery in a dry location.
- It is recommended to not store the battery at a temperature higher than 25 degrees Celsius (77 Fahrenheit).
- Remove the battery from the Turf Tank One and plug it into the battery charger (recommended).
- Leave the battery in the Turf Tank One while the Main Switch is set to OFF.
If the Main Switch is left in ON position over a longer time period, it will damage the battery.
Long term storage
- Always store the battery in a dry location.
- It is recommended to not store the battery at a temperature higher than 25 degrees Celsius (77 Fahrenheit).
- When storing the battery for an extended time period, i.e. during winter, it is required to take the battery out of the Turf Tank One.
- Do not fully charge charge the battery prior to storing.
- After long term storage, please allow 3-5 charge/discharge cycles to let the battery return to its full capacity.
For more information regarding battery maintenance please visit the following link:
Battery Maintenance