# Step 5 - Turf Tank One
# Mounting The Antenna
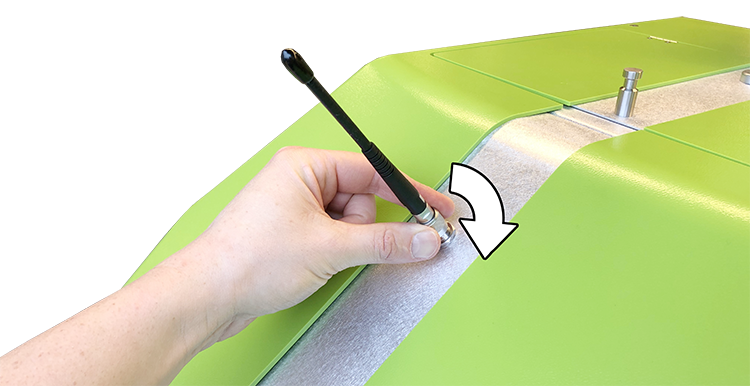
1. With a clockwise rotation, mount the antenna (15cm / 5,9”) onto the Antenna Connector.
The Antenna Connector is located on the back of the Turf Tank One.
# Inserting the Battery
1. Open Lid for battery compartment.
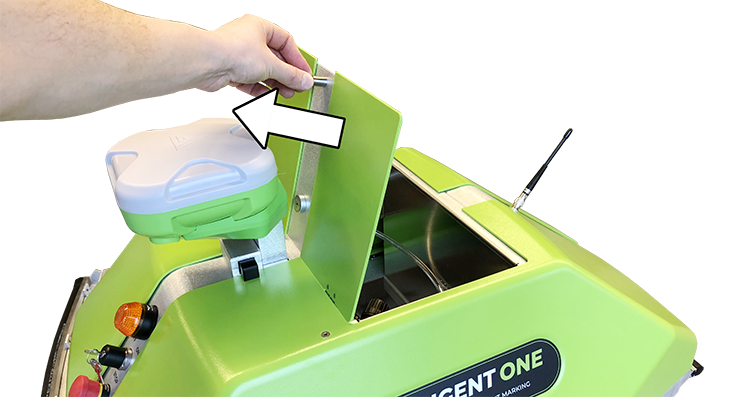
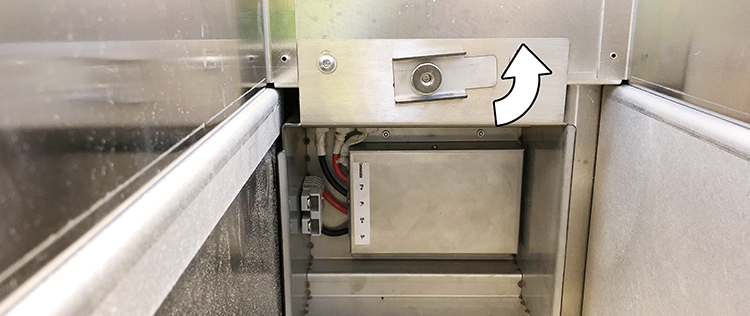
2. Inside the compartment, flip the battery lock up.
3. Carefully lower the battery down to the bottom of the compartment.
Ensure that the battery connector is facing towards the end of Turf Tank One.
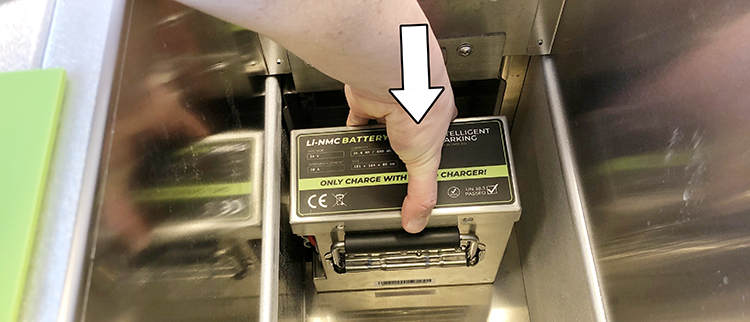
4. Slide battery into the left pocket
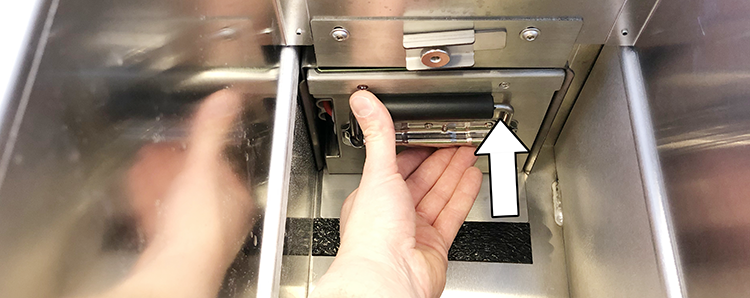
5. Flip the battery lock down.
It is important to use the battery lock as it prevents the battery from disconnecting when operating.
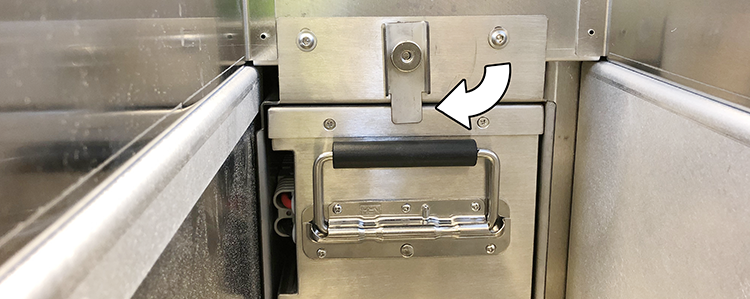
6. Close Lid for battery compartment.
# Adding Paint
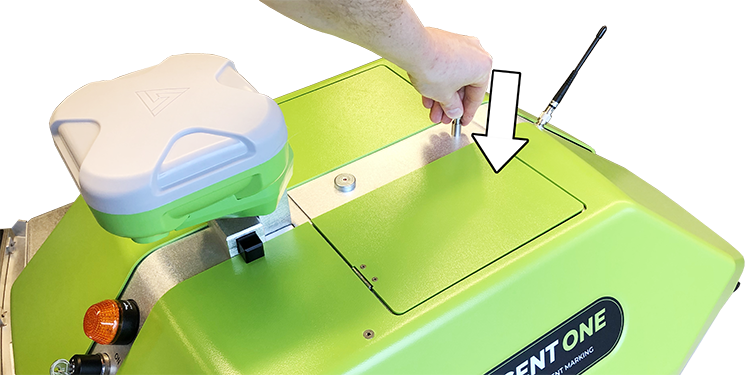
1. Open Lid for paint compartment.

2. Move the paint tube of out the paint compartment.
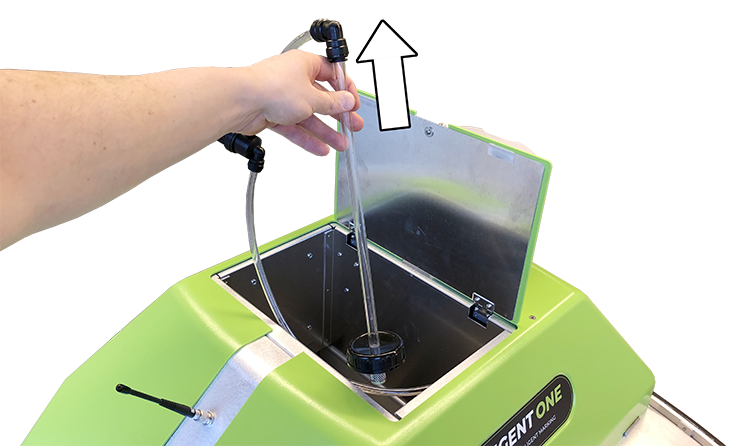
3. Insert paint bottle into paint compartment.
Have the bottle opening facing towards the Robot's left side.
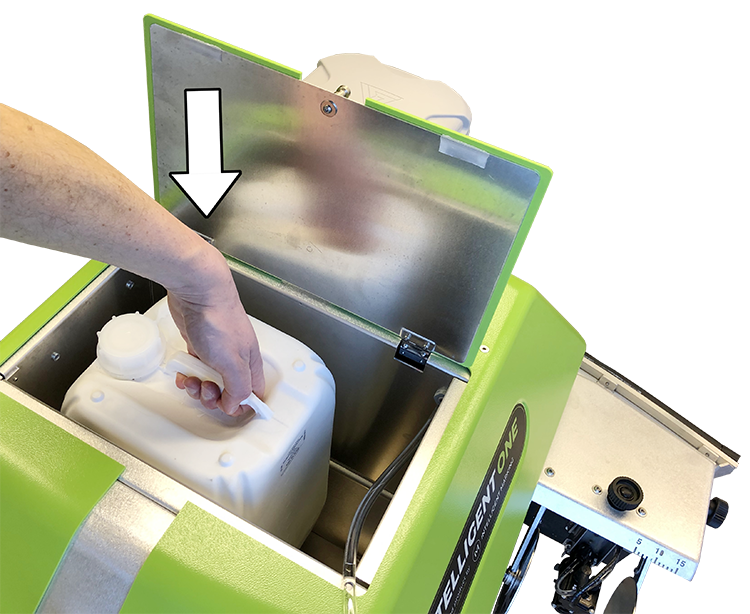
4. Remove cap from paint bottle with a counterclockwise rotation.
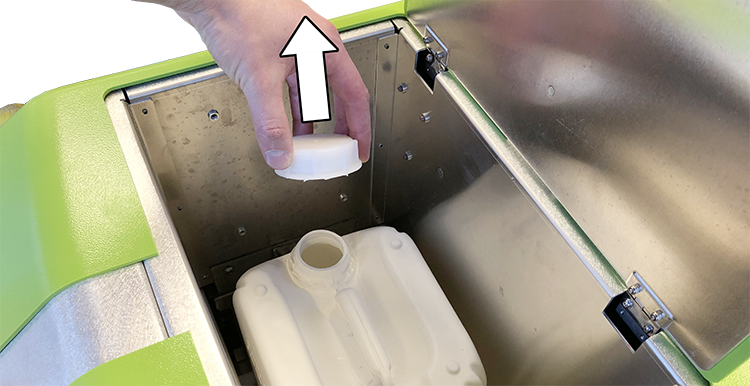
5. On the paint bottle, mount bottle cap with tube.
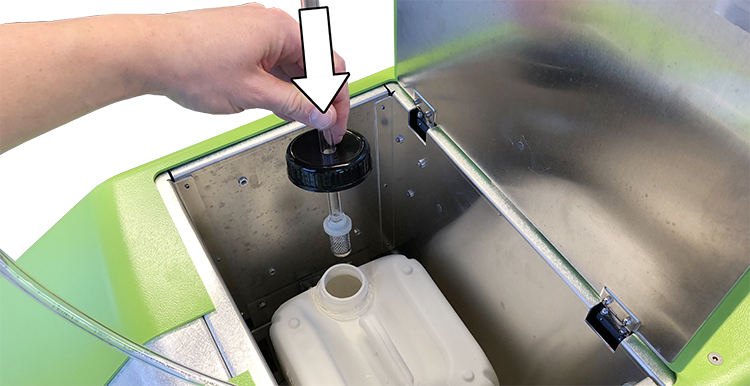
6. Tug the paint tube into the paint compartment.
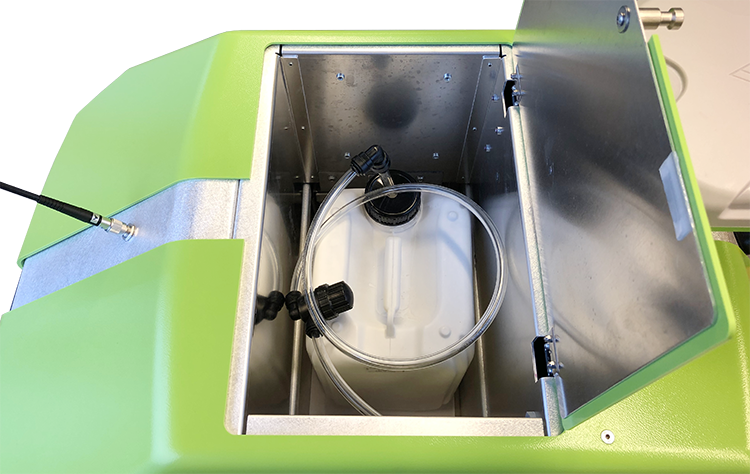
7. Close Lid for paint compartment.

# Turning Power ON
1. Push in Hatch Lock for left Side Hatch.
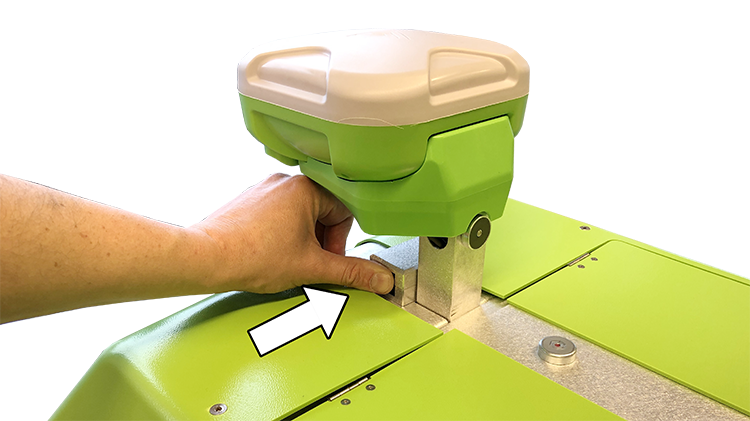
2. Open left Side Hatch.
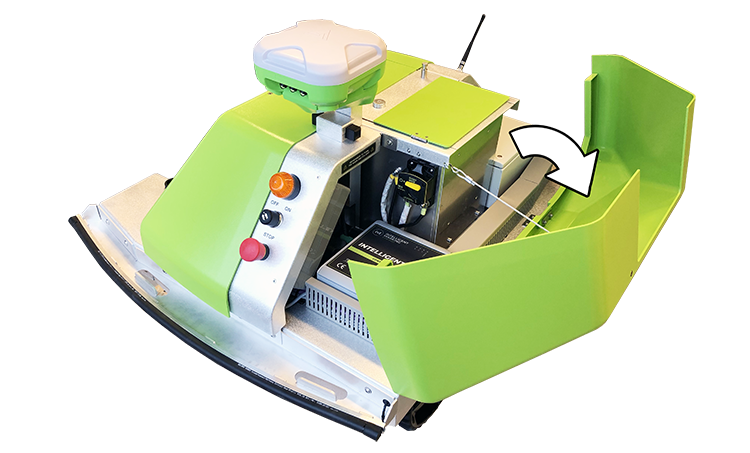
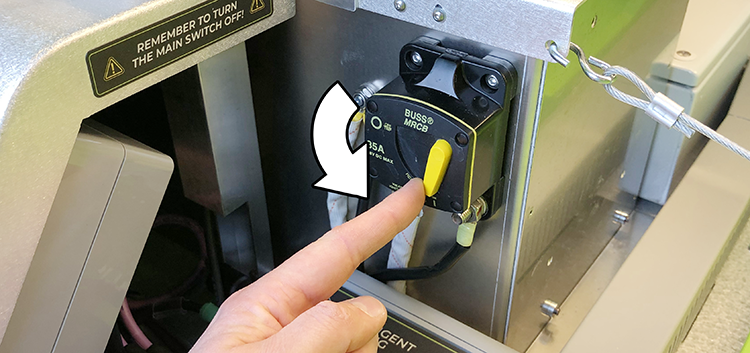
3. Flip Main Switch to ON (down position).
4. Close left side hatch.
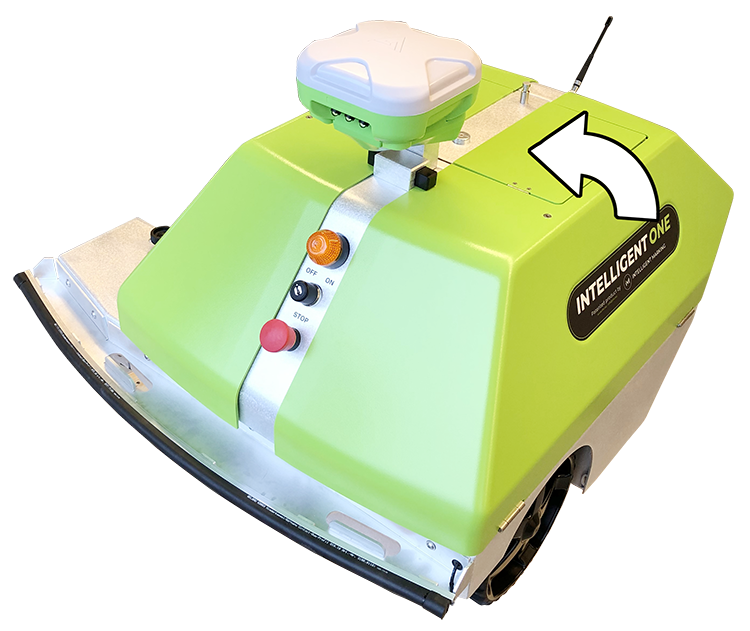
5. Insert key in key ignition.
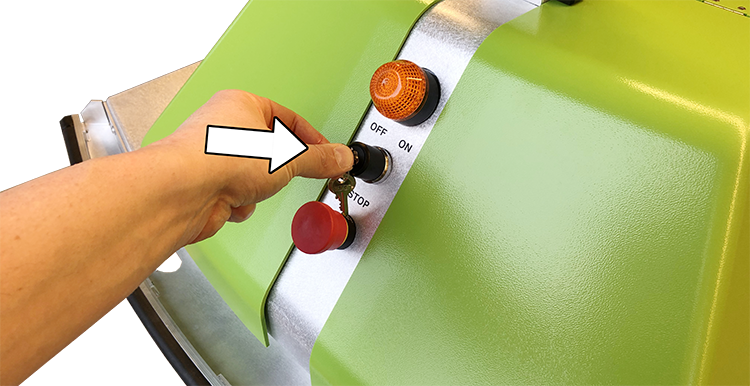
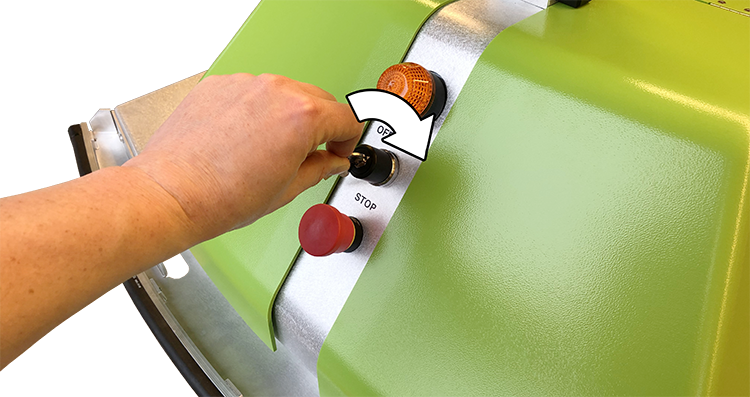
6. Turn key clockwise
Indicator Light will now start to blink as a sign that the Robot is turned ON.
# Connecting To The Tablet
1. Push in Hatch Lock for left Side Hatch.

2. Open left Side Hatch.

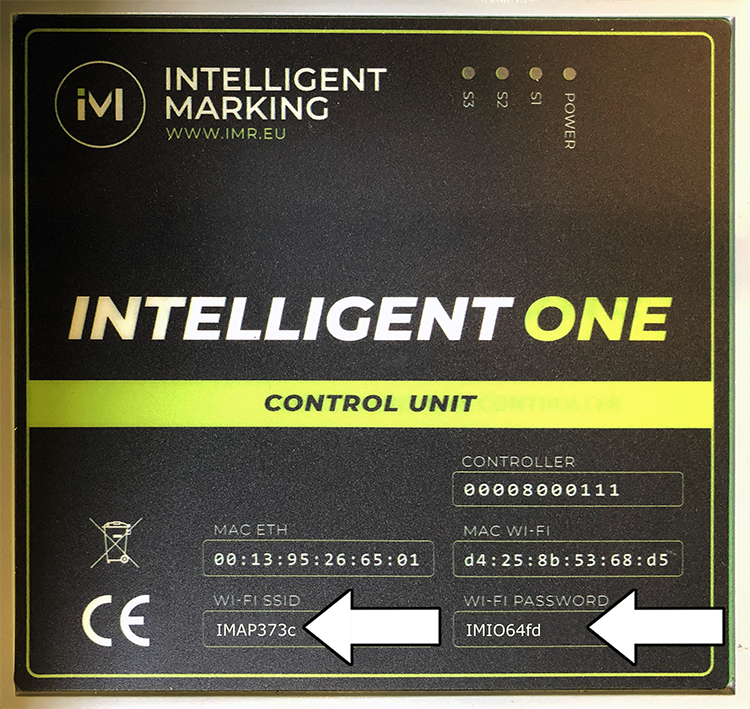
3. Locate the Turf Tank One's Wi-Fi password on the Controller.
The Turf Tank One's Wi-Fi name is shown under “WI-FI SSID”.
Shown below the name is “IMAP373c” and the password is “IMIO64fd”.
Each Turf Tank One has its own unique name and code.
4. Go to "Settings" on the Tablet.
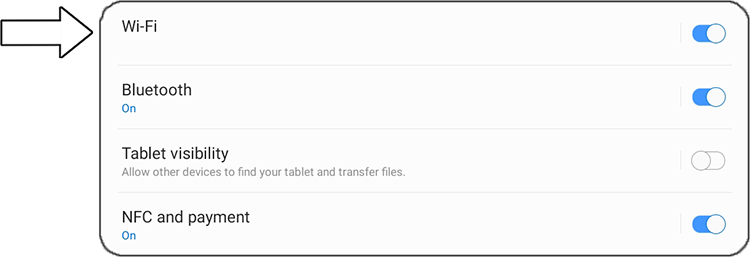
5. Press on “Connections”

6. Press on “Wi-Fi”.
7. Choose the Turf Tank One's name under “Available networks”.
In this example the name is “IMAP373c”.

8. Enter password.
In this example the password is “IMIO64fd”.

9. Press “Done” on the keyboard.

10. Press “Connect”.
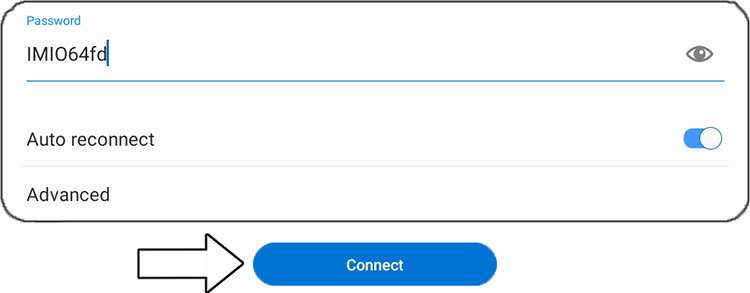
11. “IMAP373c” will now appear under “Current network”.

12. On the Tablet, open the App
13. In the lower left corner press on the orange rectangle.
In the rectangle it says “Intelligent One – Not connected” which means that the App it is not connected to the Turf Tank One.

14. When the rectangle is green it means that the Turf Tank One and App is successfully connected.

# Bleeding The Paint System
Bleeding the Paint System is a process where air bubbles are removed from the paint system.
A line will not be evenly painted with air bubbles.
Please Note
- Bleeding the Paint System is recommended to do outdoors.
1. Open the App.
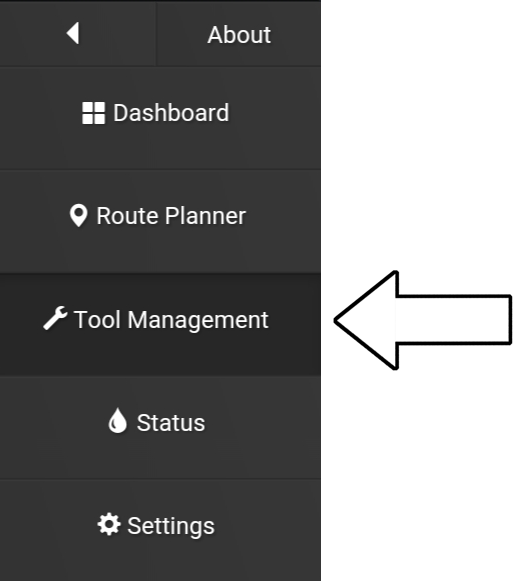
2. Go to “Tool Management”.
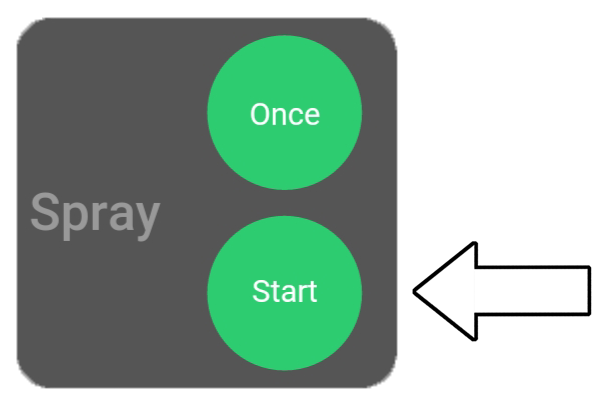
3. Press “Start”.
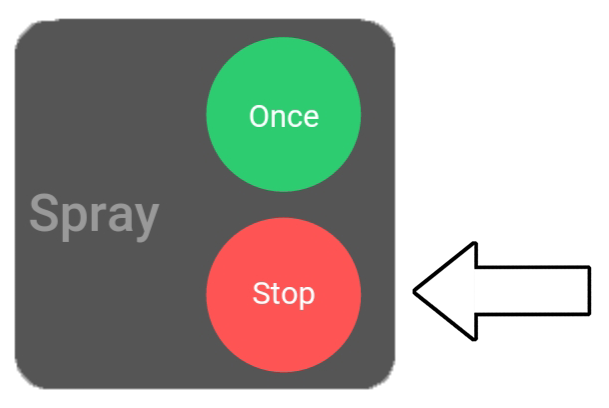
4. Press “Stop” when the paint comes out of the nozzle evenly.
# Manually drive the Robot
There are two ways of manually controlling the Turf Tank One. When moving the Turf Tank One from job to job and/or loading and unloading under transport, these controls can be used to move the Turf Tank One to another location. Use caution when operating the Turf Tank One around other objects and especially in moist conditions, as moist or droplets of water on the tablet screen can make it difficult to control.
# Joystick
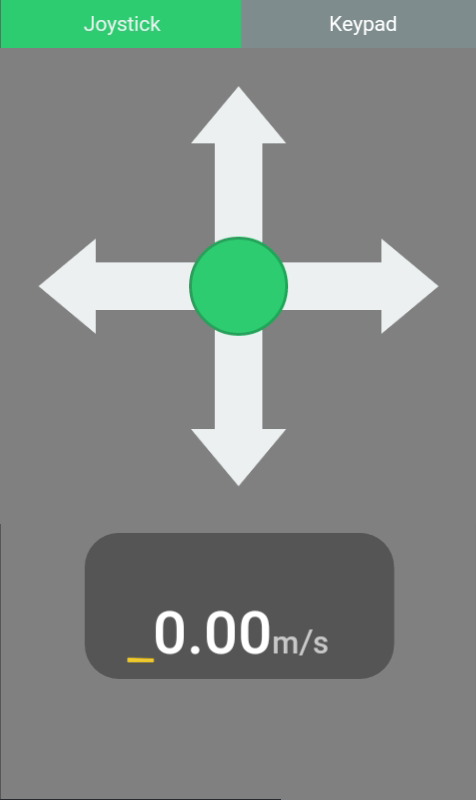
To use the joystick, press the black circle and move it toward the direction you want it to move. Please note that if moved horizontally, the Turf Tank One turns around its own axis as both motors are turning in opposite directions. The speed is determined by the distance the joystick is moved towards the grey arrows indicating the direction of movement. The farther from the center, the faster the Turf Tank One moves. This method of controlling the Turf Tank One is useful when navigating it in spaces where the operator should be able to quickly respond to the surroundings or if it is navigated between objects. The joystick is shown in the image to the right.
# Keypad
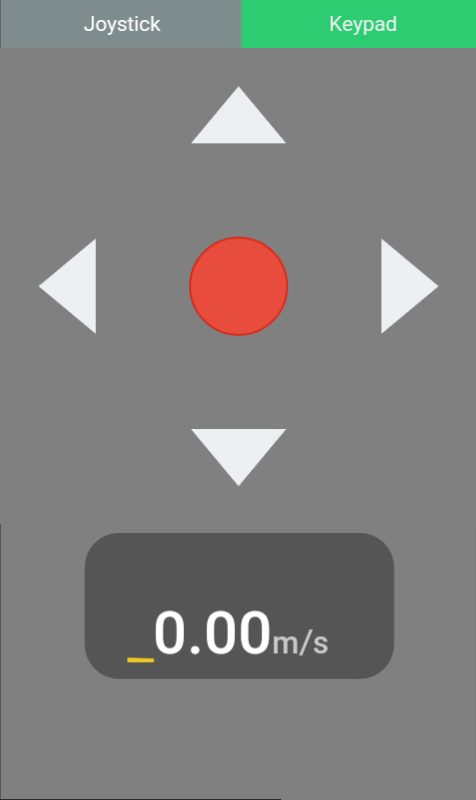
The keypad features buttons for continually moving forward, backward, left and right as well as a stop button that cancels all movement of the Turf Tank One. Each direction can be controlled in increments where each press (on the same button) increments the speed. Pressing the opposite button decrements the speed correspondingly.
For example, if the operator needs to move the Turf Tank One over a long distance, the forward button can be incremented to full speed. The direction can be adjusted by pressing the left or right buttons accordingly. Please note that if the Turf Tank One should be turn slightly right, a single increment of the right button will make the Turf Tank One gradually turn right (while still retaining other active directions). It is thus possible to make quicker directional adjustments by increasing or decreasing left or right directions.
The keypad is also very useful when aligning the Turf Tank One when creating a new field. We recommend that the Turf Tank One is moved forward using a single increment on the keypad and then adjusted to the sides with single increments to either left or right. When finding the calibration point, stop any movement by pressing the red stop button.
