# Controling the Turf Tank
There are two ways of manually controlling the Turf Tank. When moving the robot from job to job and/or loading and unloading under transport, these controls can be used to move the robot to another location. Use caution when operating the Turf Tank around other objects and especially in moist conditions, as moist or droplets of water on the tablet screen can make it difficult to control.
# Joystick
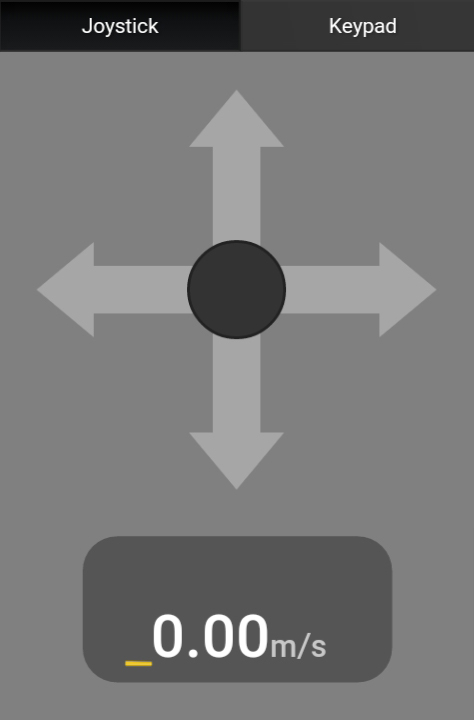
To use the joystick, press the black circle and move it toward the direction you want it to move. Please note that if moved horizontally, the Turf Tank turns around its own axis as both motors are turning in opposite directions. The speed is determined by the distance the joystick is moved towards the grey arrows indicating the direction of movement. The farther from the center, the faster the Turf Tank moves. This method of controlling the Turf Tank is useful when navigating it in spaces where the operator should be able to quickly respond to the surroundings or if it is navigated between objects. The joystick is shown in the image to the right.
# Keypad
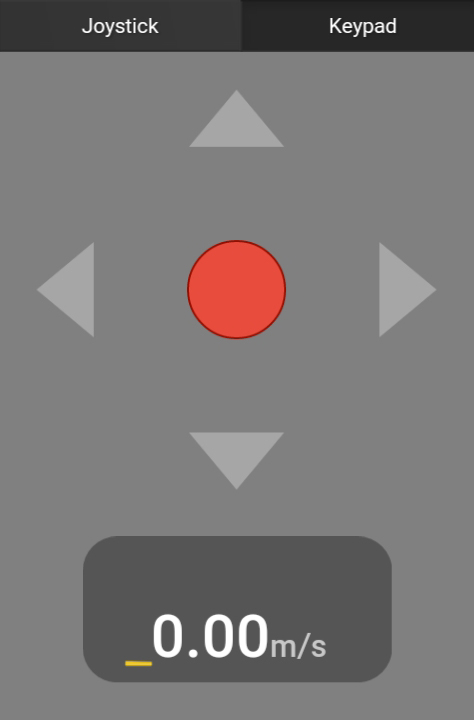
The keypad features buttons for continually moving forward, backward, left and right as well as a stop button that cancels all movement of the robot. Each direction can be controlled in increments where each press (on the same button) increments the speed. Pressing the opposite button decrements the speed correspondingly.
For example, if the operator needs to move the Turf Tank over a long distance, the forward button can be incremented to full speed. The direction can be adjusted by pressing the left or right buttons accordingly. Please note that if the robot should be turn slightly right, a single increment of the right button will make the robot gradually turn right (while still retaining other active directions). It is thus possible to make quicker directional adjustments by increasing or decreasing left or right directions.
The keypad is also very useful when aligning the Turf Tank when creating a new field. We recommend that the robot is moved forward using a single increment on the keypad and then adjusted to the sides with single increments to either left or right. When finding the calibration point, stop any movement by pressing the red stop button.